How to Prepare Artwork for Shirt Printing
Good shirt printing starts with a clean, usable artwork file. Preparing the logo, wording, colours, print size and placement properly can reduce unnecessary revisions and make it easier to reproduce the design consistently across T-shirts, polos, uniforms and sportswear.
What should you send for shirt printing?
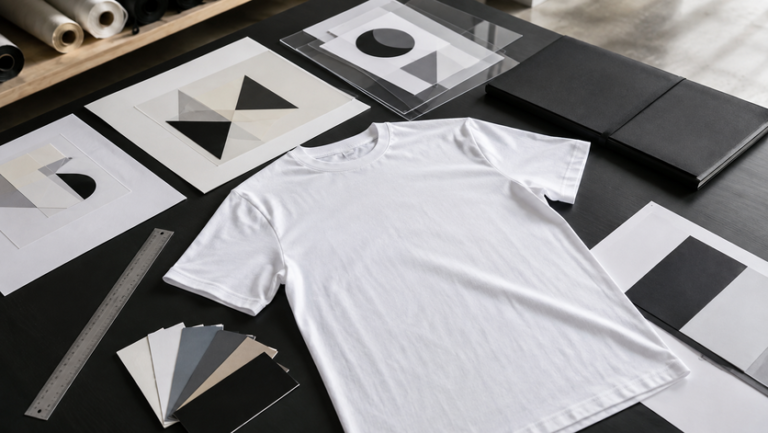
Send the highest-quality original artwork available. Vector files are usually preferred for logos and text because they can be resized without normal pixelation. If the artwork is raster-based, provide a sufficiently large original, remove unwanted backgrounds, and confirm the intended print size, shirt colour and position.
Which Artwork File Should You Send?
The original design file is normally more useful than a screenshot or image copied from social media. Use this table to understand the strengths and limitations of common file formats.
| File type | Best for | Why printers like it | Check before sending |
|---|---|---|---|
| AI / EPS | Logos, text and vector illustrations | Scales cleanly and is easier to separate or edit | Outline final fonts or include the required fonts |
| Approved layouts and vector artwork | Easy to review and share across devices | Confirm the PDF contains usable artwork, not only a low-resolution image | |
| SVG | Simple vector logos and icons | Can scale without pixelation | Check fonts, gradients and effects after opening the file |
| PNG | Raster logos with transparent backgrounds | Convenient for full-colour digital printing | Use a large original and inspect transparent edges carefully |
| JPG / JPEG | Photos and visual references | Simple to preview and share | Watch for compression, low resolution and unwanted backgrounds |
| PSD | Layered photo or raster designs | Can preserve editable layers | Keep the document large enough for the final intended print size |
Prepare Artwork Around the Shirt You Are Printing
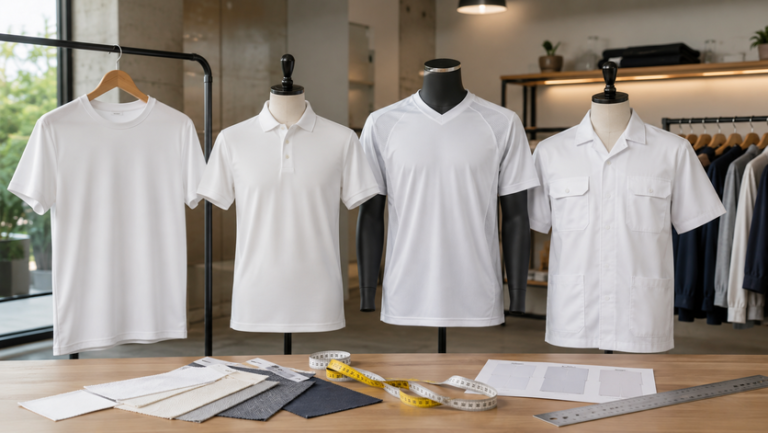
The same logo may need a different size or position on a round-neck tee, polo shirt, sports jersey or work uniform. Check the garment construction before locking the artwork.
Allow space around the collar and seams
Centre-front artwork can be larger, while a left-chest logo is normally more compact. Keep important details away from the neckline, sleeve join and side seams.
Design around the placket, buttons and pockets
Polo shirts often use smaller chest branding. Confirm whether the logo sits on the left or right chest and check that the design does not visually collide with the placket or pocket.
Organise team names, numbers and sponsors
Keep player information and sponsor logos in a clear hierarchy. When full sublimation is used, prepare artwork on the actual garment template rather than as a simple flat logo placement.
Standardise positions across the whole order
Define front logos, back wording, department labels and sleeve branding clearly so the same approved arrangement can be reproduced across different garment sizes.
State the Actual Print Size Instead of Saying “Small” or “Large”
Give the intended width or height in centimetres and confirm it on the digital mock-up. This removes ambiguity and makes the final approval easier for both the buyer and printer.
Chest and sleeve branding
Keep logos readable but compact enough to suit the smaller placement area.
Front graphics and event designs
Balance the artwork against the shirt width and check how it looks on smaller sizes.
Full-front and full-back artwork
Check production limits, seams and wearer comfort before approving an oversized print.
Artwork Requirements Change with the Printing Method
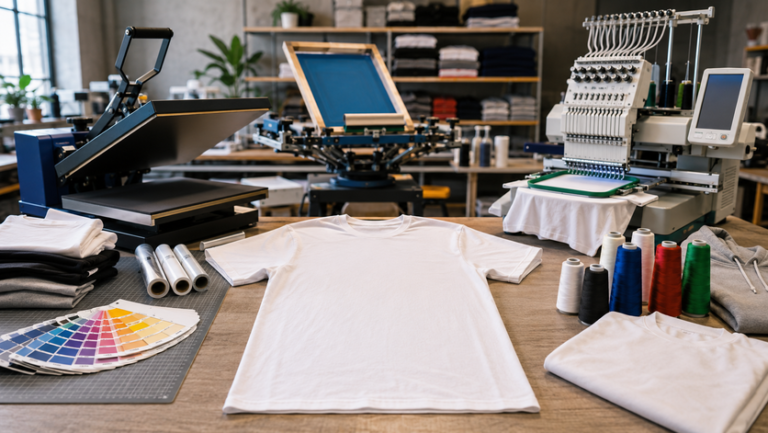
Tell the printer which production method you are considering. DTF, silkscreen, embroidery, sublimation and heat transfer do not all use artwork in exactly the same way.
| Method | Recommended artwork | Preparation focus | Common mistake |
|---|---|---|---|
| DTF | High-quality PNG or vector artwork | Clean transparency, sharp edges and sufficient resolution | Using a small screenshot with a white box around the logo |
| Silkscreen | Vector artwork strongly preferred | Clear colour separation and printable line detail | Using unnecessary gradients or too many tiny details |
| Embroidery | Clean vector or high-quality source artwork | Simplify small text and details before stitch digitising | Expecting thread to reproduce every tiny screen detail |
| Sublimation | Vector or high-resolution artwork on garment templates | Panel layout, seams, names, numbers and sponsor positions | Preparing only a front logo for an all-over design |
| Heat Transfer | Vector for cut graphics or high-quality printed artwork | Clean paths, practical lettering and consistent placement | Using over-complicated artwork for simple cut lettering |
Inspect transparent edges
Zoom in and remove stray pixels, white halos, unwanted shadows and background fragments before printing.
Keep colours intentional
Clean vector artwork makes colour separation easier and helps avoid unnecessary setup complexity.
Design for stitches, not pixels
Fine lettering, narrow gaps and delicate gradients may need simplification for a clean stitched result.
Build on the production template
Place critical elements with panel seams, cutting areas and garment construction in mind.
Review the Artwork on the Actual Shirt Colour
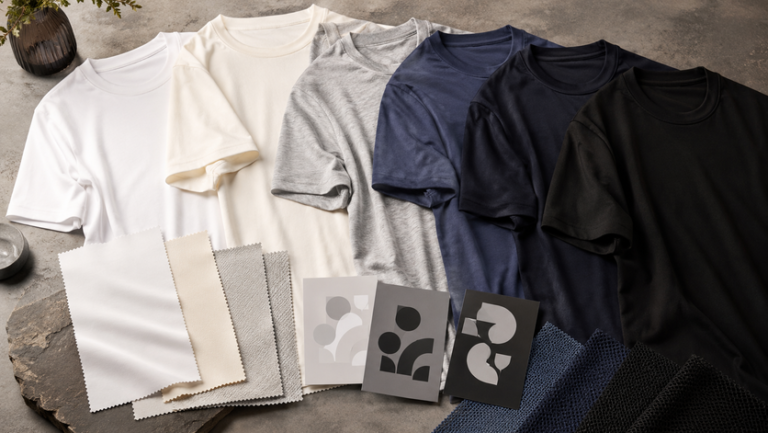
A design that looks strong on a white computer screen may lose contrast on a dark, bright or textured garment. Fabric, shirt colour and printing method should be reviewed together.
Make the logo readable at a glance
Light artwork generally stands out on dark garments, while darker artwork is often clearer on light shirts. Brand logos may need an approved alternate light or dark version.
Expect different results on different materials
Smooth cotton, microfiber, pique polo fabric and textured performance fabrics do not present fine detail in exactly the same way. Simplification may help on more textured surfaces.
Do not expect a phone display to be a perfect colour reference
Screen brightness and display profiles can change colour appearance. If matching is critical, provide an approved colour reference and discuss the chosen production method.
Prevent missing-font issues
Convert final fixed wording to outlines where appropriate, while keeping a separate editable copy for future name, date or spelling changes.
Six Artwork Problems to Fix Before Printing
Pixelated logo
Replace a small web image with the original vector or a genuinely larger source file.
Unwanted background
Remove white boxes, screenshot backgrounds and stray transparent pixels.
Text too small
Check wording at the actual output size, not only while zoomed in on a screen.
Poor contrast
Preview every artwork version on the selected garment colour before approval.
Unclear placement
State left chest, centre chest, front, back or sleeve instead of leaving placement open to interpretation.
Undefined size
Approve the print width or height in centimetres so the production scale is clear.
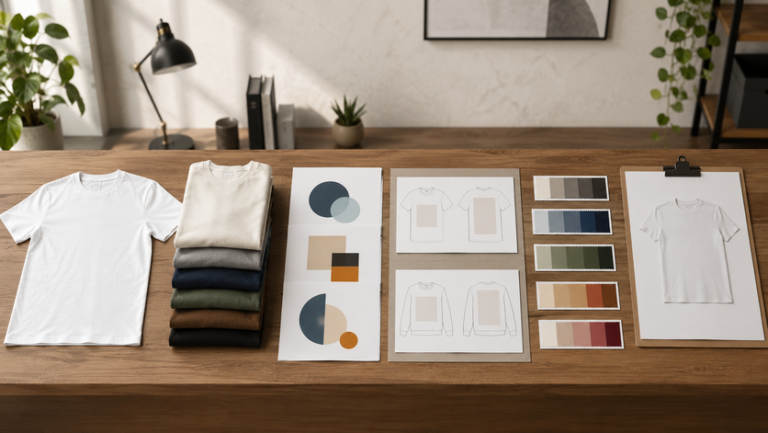
From Artwork File to Final Printing Approval
Keep the order organised by finalising the garment, artwork and print instructions in a clear sequence. Uniform Sabah orders are supplied to Sabah without implying a local production facility in Sabah.
Choose the garment
Confirm model, colour, size range and quantity before finalising artwork scale.
Send the best original file
Provide vector artwork where possible or the largest original raster file available.
State size and position
Give the intended print width or height and the exact front, back or sleeve placement.
Confirm variable information
Prepare names, numbers, roles and sizes in one organised list.
Review the mock-up
Check spelling, colour, scale, orientation and placement before approving it.
Lock the production artwork
Once everything is correct, approve one final version as the production reference.
Common Artwork Situations and What to Do
Use it as a reference, then find the original
Ask the logo designer for AI, EPS, PDF, SVG or a high-resolution PNG. Rebuilding may be necessary if no better file exists.
Separate fixed artwork from variable data
Keep one approved company logo, then list each person’s name, size, shirt colour and number separately.
Prepare light and dark logo versions
A black logo may disappear on dark garments. Approve alternate colour versions before production starts.
Freeze the design before final approval
Use one final mock-up as the reference for all stakeholders so sponsors, dates and wording are not changed midway.
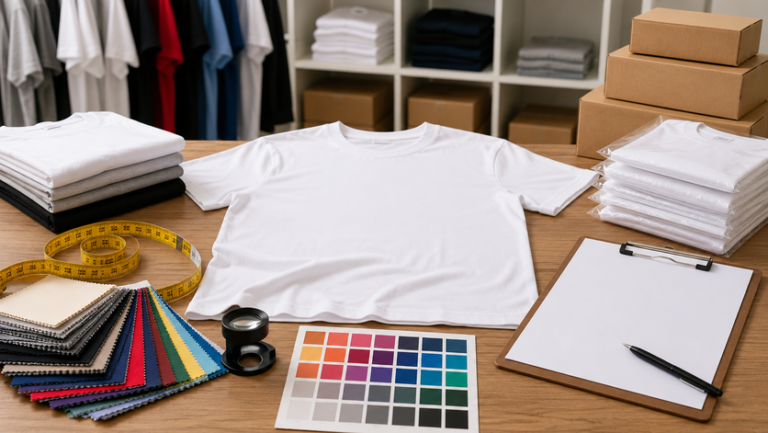
What to Check Before Sending Your Shirt Design
Use this checklist before submitting the final artwork for quotation or production.
- The garment model and shirt colour are confirmed.
- The highest-quality original artwork file is ready.
- Vector logos are supplied where possible.
- Raster artwork is large enough for the intended print size.
- Unwanted backgrounds and stray pixels are removed.
- All wording, names and numbers are proofread.
- The print width or height is stated clearly.
- The print position is identified clearly.
- Artwork contrast is checked on every shirt colour.
- The final digital mock-up is approved before production.
Shirt Printing Artwork FAQ
What is the best file format for shirt printing?
Can I send a PNG?
Is 300 PPI required?
Why should I avoid screenshots?
Should fonts be converted to outlines?
Do I need a transparent background?
How should I specify print size?
Can the same artwork size be used on every shirt size?
What if my logo colours do not show on the shirt?
When should I approve the final artwork?
Prepare Your Shirt Design Before Production
Send your garment choice, quantity, artwork and preferred print position to Uniform Sabah. The team can review the file requirements and organise the artwork before production is confirmed.
Continue Planning Your Custom Shirt Order
Review related pages for custom apparel ideas, company information and other printing directions.
Explore Our Other Printing and Apparel Websites
Visit our related regional and international websites for uniform, apparel and custom-printing information.